Ford F-150/F-250: Oxygen Sensor Replacement
This article walks through the process of replacing the oxygen sensor on your Ford F-150 or Super Duty.
Ford F-150 (2004-2014) and the F-250, F-350 (2005-2014).
If your check engine light goes on but you don't notice any symptoms, you need to use a code reader to determine the source of the problem. If the trouble code in your PCM's memory reads P0131, P0133, P0151, or P0153, you could be having trouble with your vehicle's oxygen sensor. The oxygen sensor is a clever little component that keeps track of your engine's exhaust and promotes an accurate distribution of oxygen, nitrogen, and fuel. For this reason, bad gas mileage can be both a symptom and a problematic result of a faulty oxygen sensor. This part can be expensive to professionally replace, so you might want to attempt a DIY job if you are able to.
Materials Needed
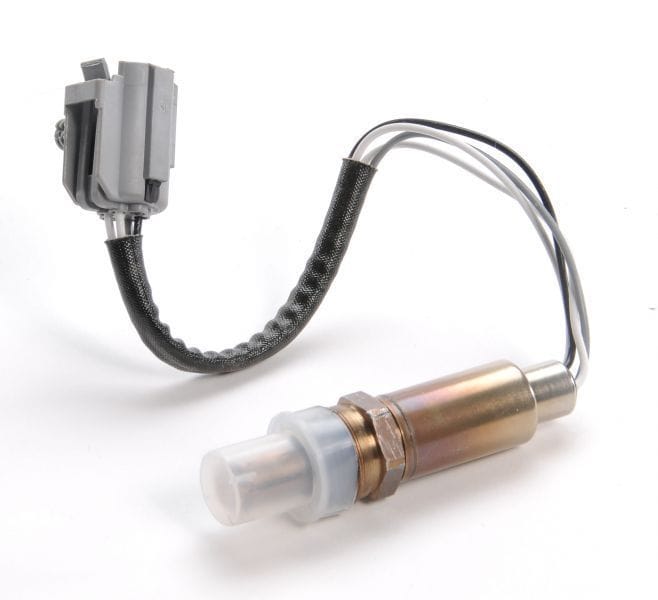
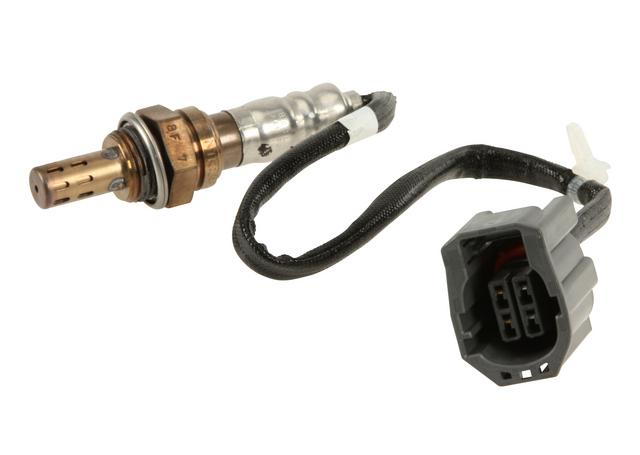
- O2 sensor
- penetrating oil
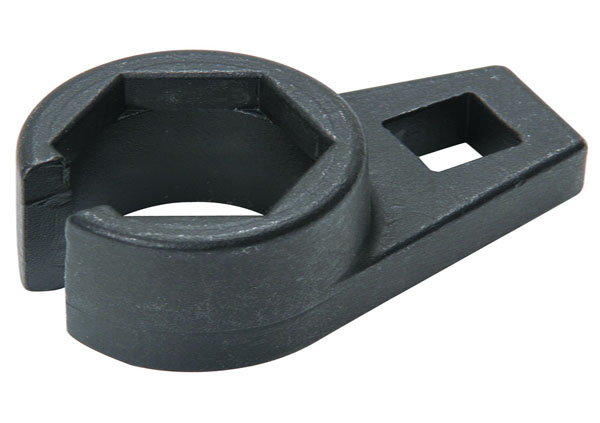
- O2 sensor socket
- thread chaser
- floor jack
- two jack stands
Step 1 - Apply penetrating oil to the O2 sensor and let it soak
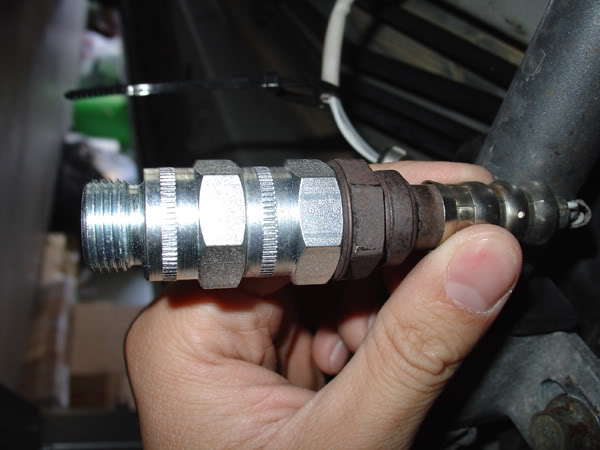
Locate the faulty O2 sensor which should be positioned in the exhaust manifold just before or just after the catalytic converter. Once you have located the faulty sensor, drench it in penetrating oil, allowing it to soak for at least 24 hours prior to performing the task. This will help you remove it later by making it significantly looser.
Step 2 - Park and raise your vehicle
Be certain to park your vehicle on level ground, and put it in neutral before proceeding to raise your truck, utilizing a floor jack and jack stands for support. Keep the parking brake on and rear wheels locked for safety while you lift the front of the truck.

Step 3 - Thread the O2 socket onto the O2 sensor
Unscrew the faulty O2 sensor by utlizing the socket and thread chaser.
Step 4 - Disconnect the connectors on top of the transmission
The connectors are blue and look just like those in Figure 4. Simply pinch the connectors on either side and pull them apart.

Step 5 - Remove the protective cap from the new sensor
Remove the protective cap that the new sensor comes with.
Step 6 - Thread the new sensor into the old sensor's place
Reverse step 3. Thread the new sensor in the same place the old sensor was with a socket and a thread chaser.
Step 7 - Connect the new connector just above the transmission
The new connector should click right into place where the old connector used to be. Once the sensor has been removed, replacing it is simply a matter of putting new equipment where the faulty equipment was originally positioned.
Pro Tip
Having a malfunctioning oxygen sensor could cause you to fail state emissions. If this component continues to need replacing, it could be the sign of a more serious problem with your exhaust system.
No comments:
Post a Comment