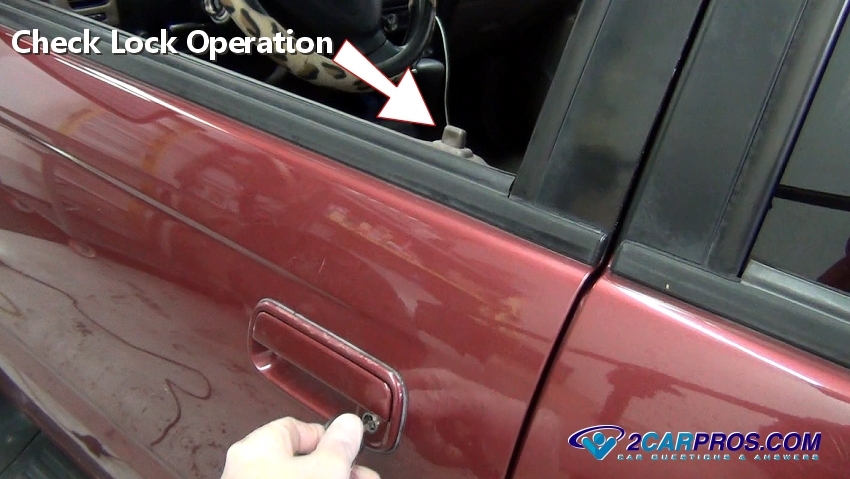
DOOR PANEL REMOVAL
How To Remove Car Door Panel
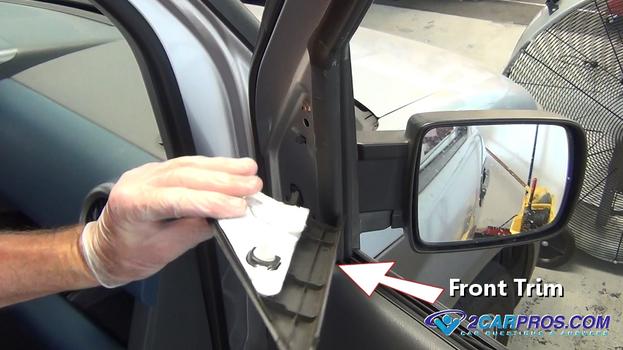
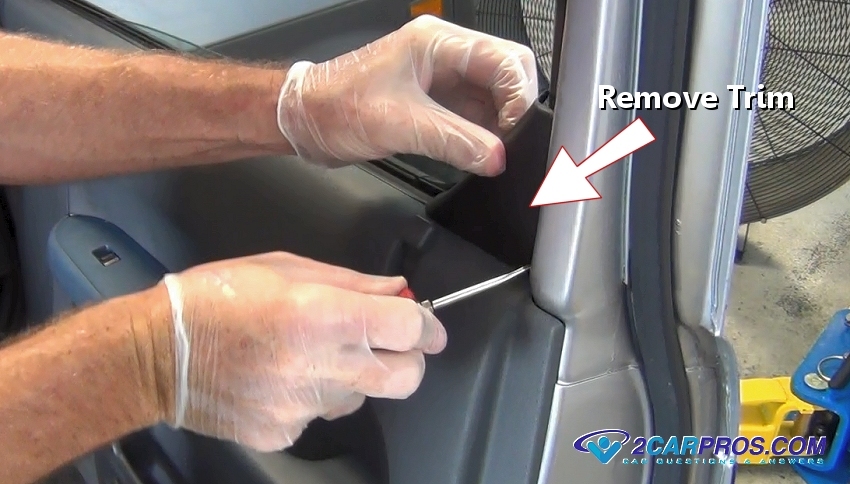
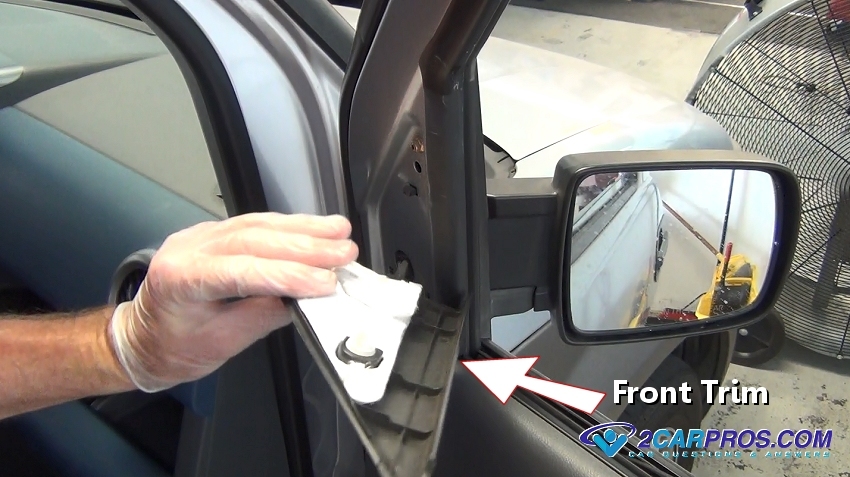
Easy step by step guide on how to remove an automotive door panel, though the configuration may vary, the process is the same, this information pertains to most vehicles.Difficultly Level - 3Begin the vehicle on level ground, engine "OFF" with the parking brake set, using a basic set of tools while wearing gloves and protective eye-wear.Step 1 - Using a small screw driver or trim removal tool, detach (pop off) any trim pieces above the door panel.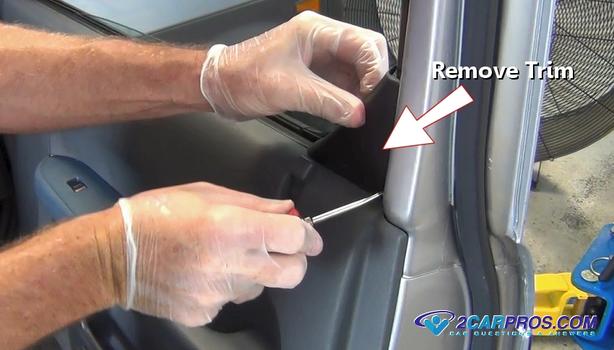 Step 2 - Remove the front trim piece to allow the door panel to be removed.
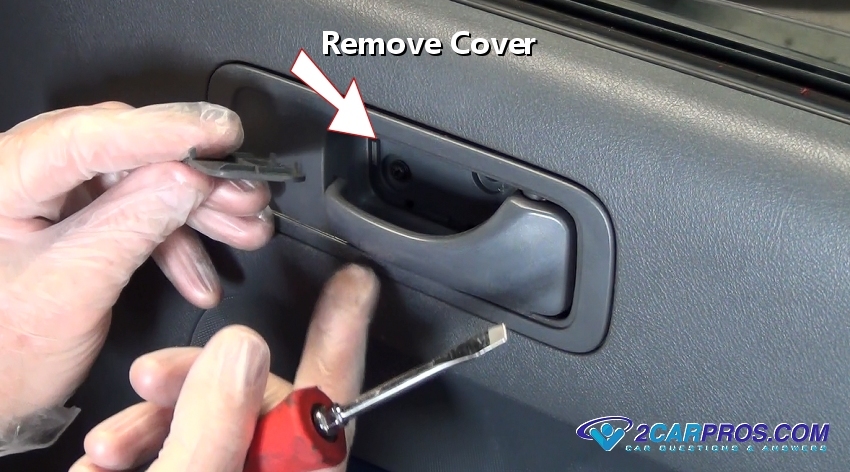
 Step 3 - There may be plastic covers placed over panel bolts-screws which will need to be removed.
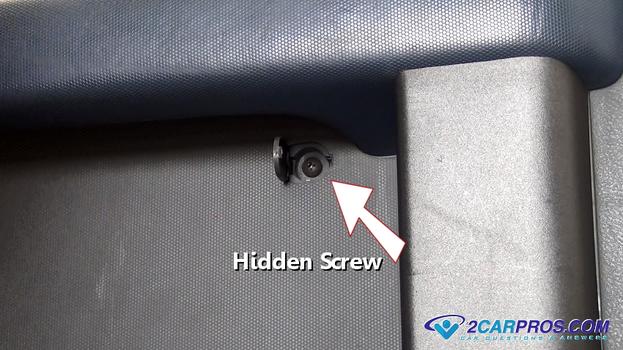
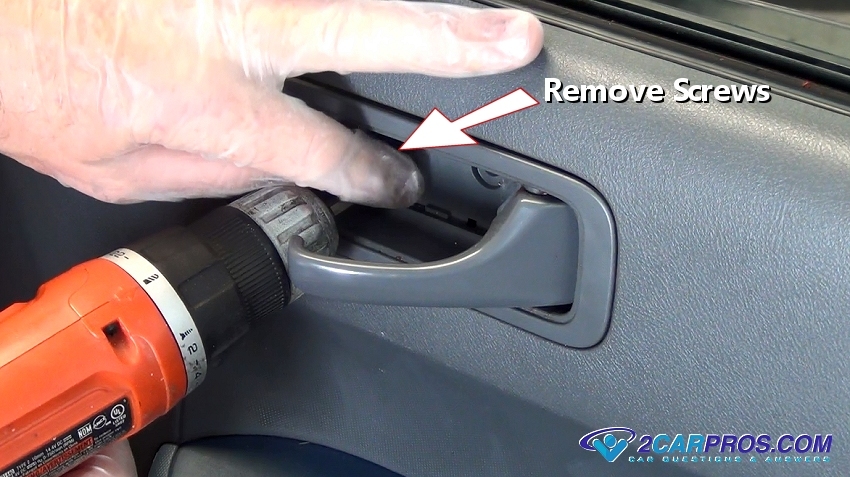
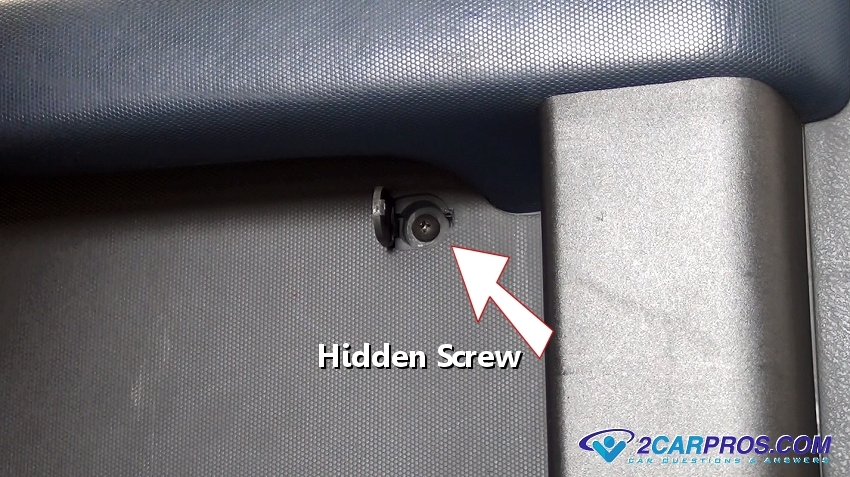
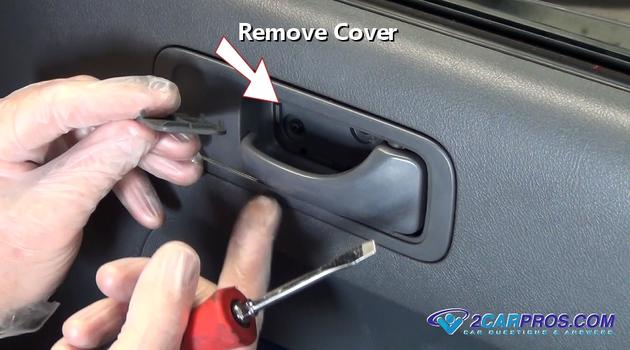 Step 4 - After all mounting bolt covers have been removed, loosen and remove the panel mounting screws, these screws can be a little hidden so look around and under arm rests etc.
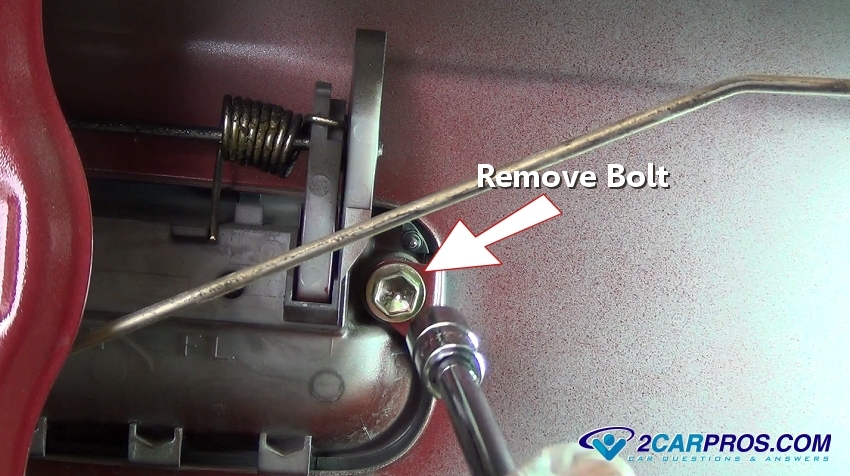
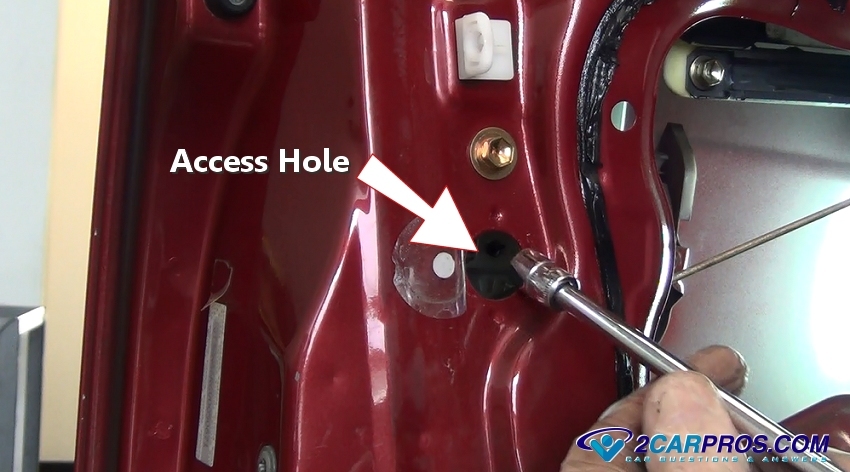
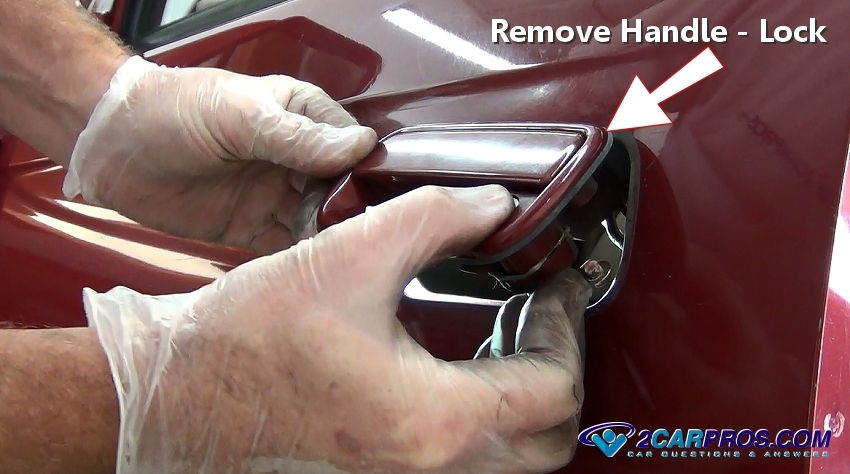
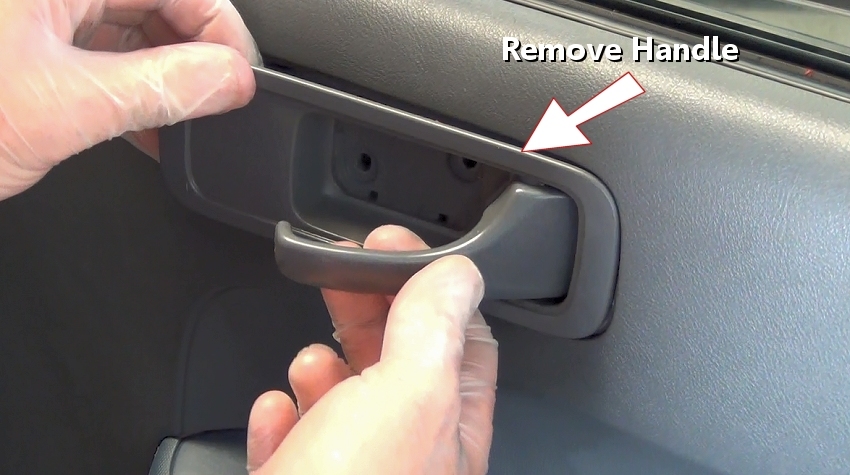
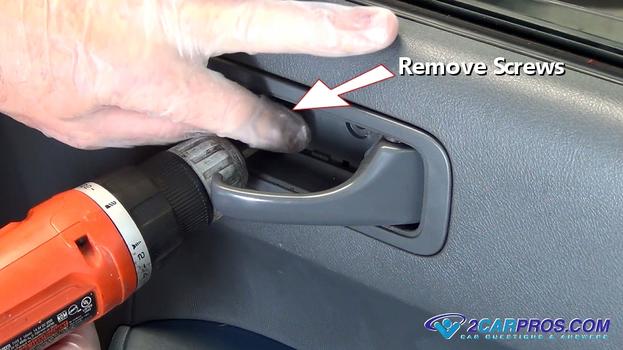 Step 5 - Grasp the door handle and remove, be cautious of the linkage attached to the handle as not to bend or break it.
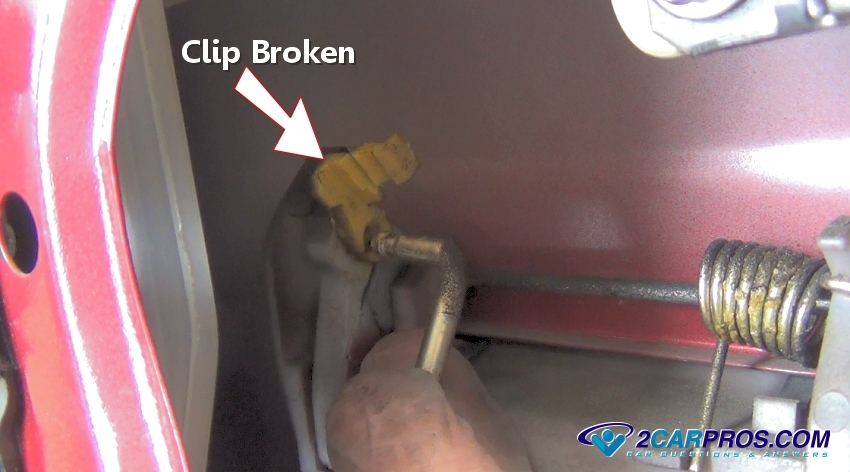
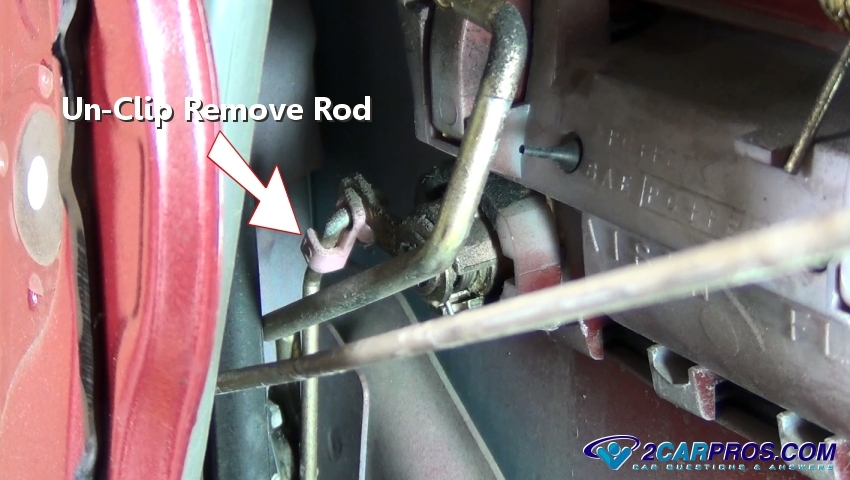
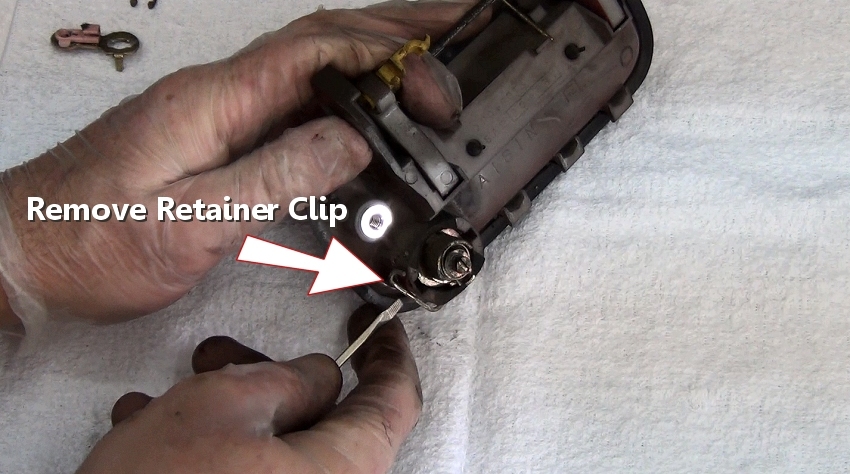
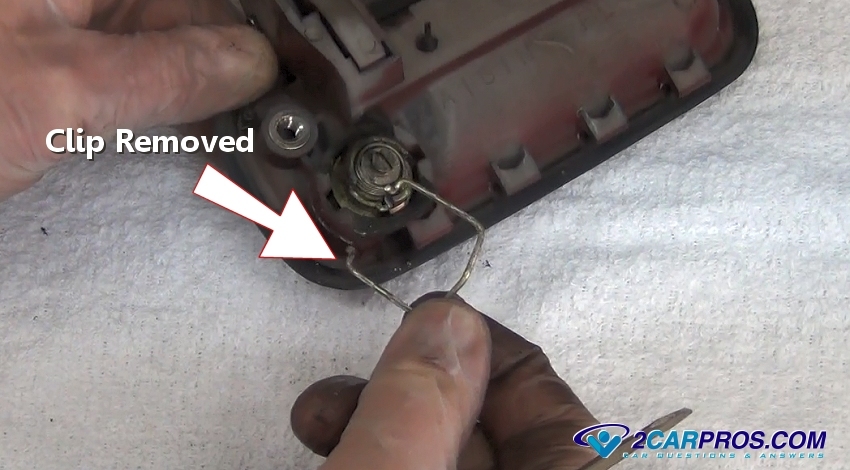
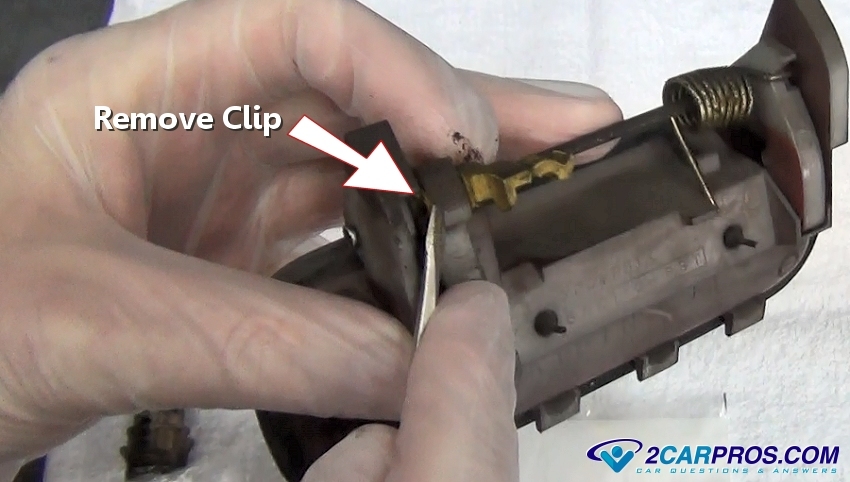
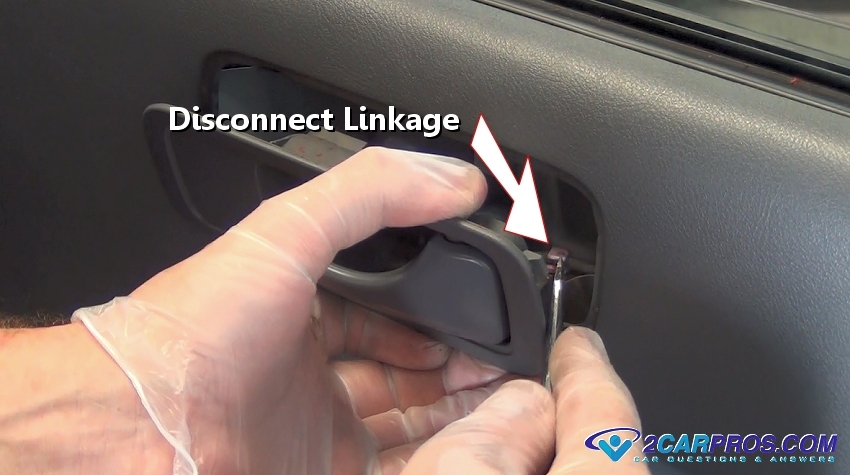
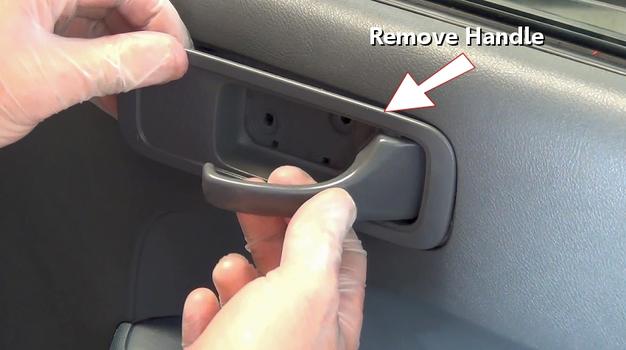 Step 6 - Using a small screwdriver push the plastic clip over the linkage to release it from the handle.
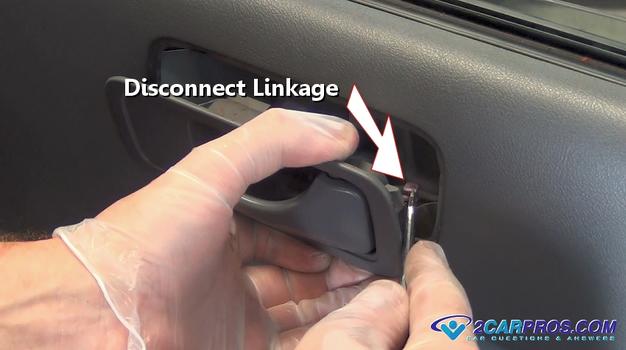 Step 7 - Double check that all mounting hardware has been removed, some screws can be well hidden.
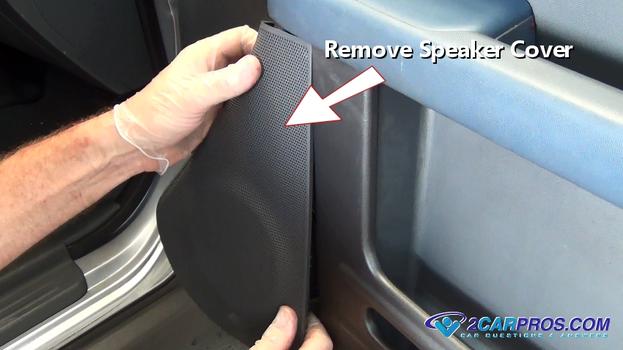
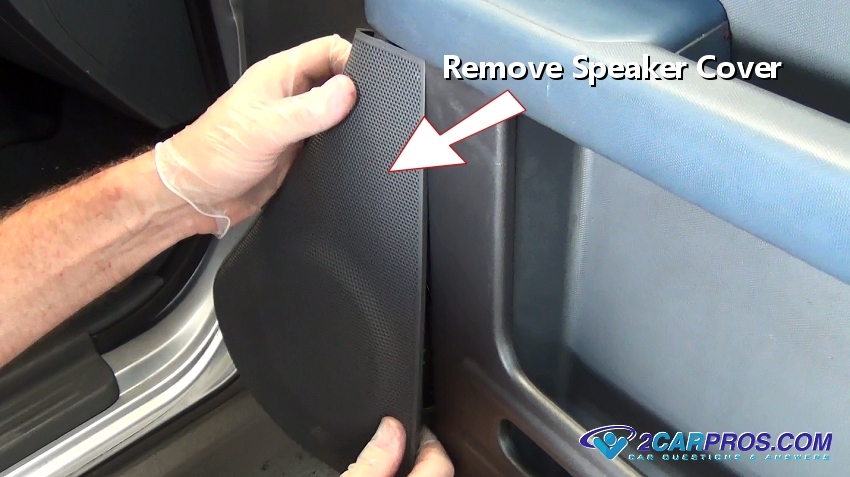
 Step 8 - Remove speaker cover to access speaker removal screws, (Note: Some covers cannot be removed ).
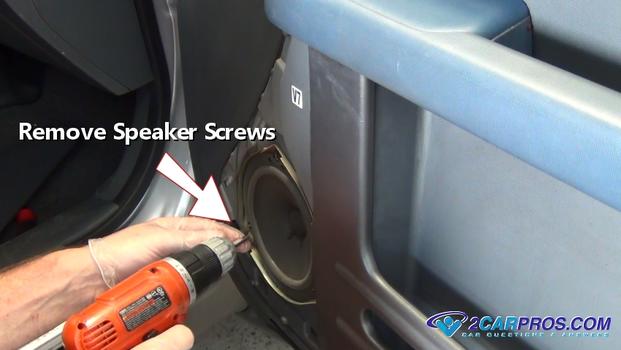
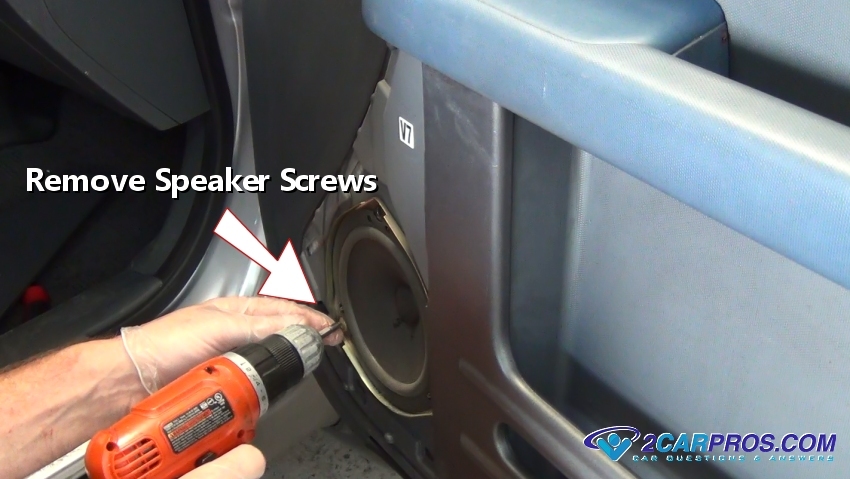
 Step 9 - Remove speaker mounting screws to remove the speaker.
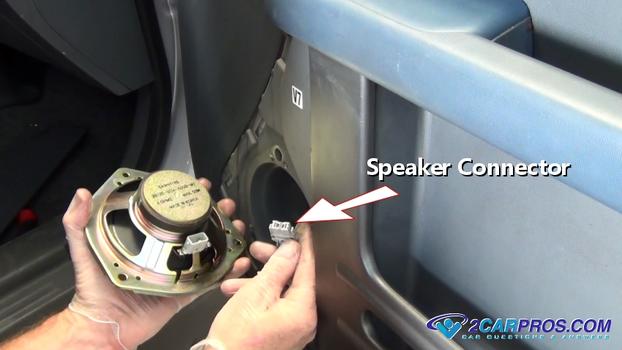
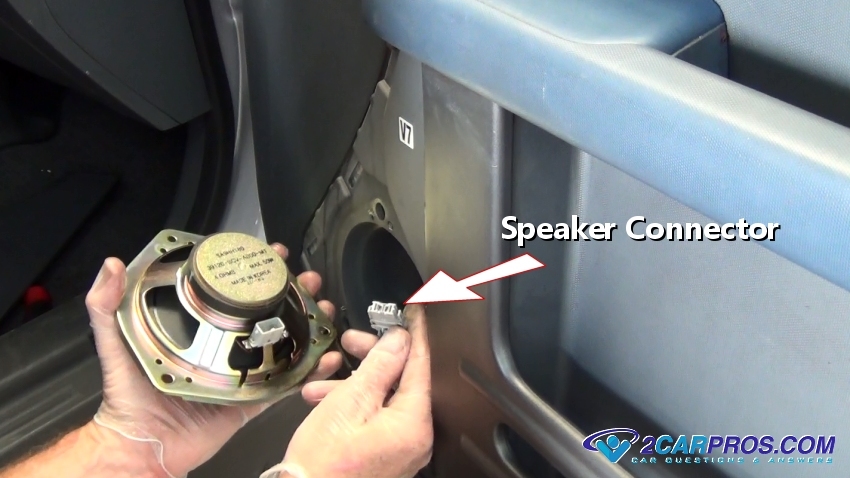
 Step 10 - The speaker will then become loose, disconnect the wire harness connector.
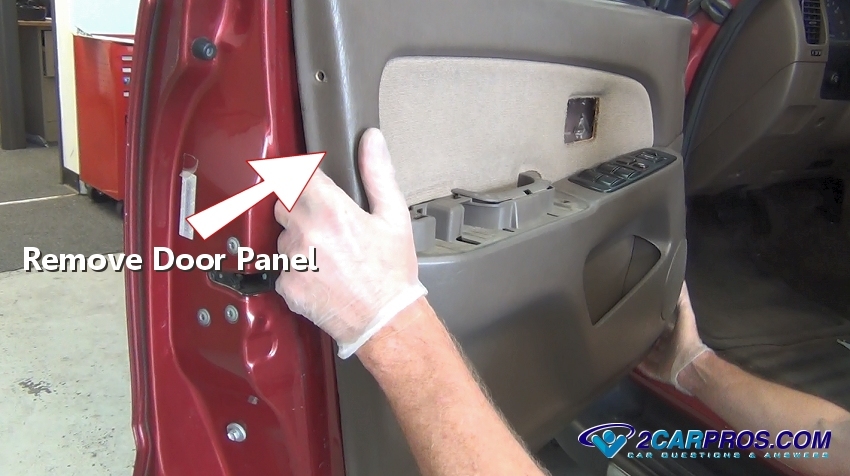
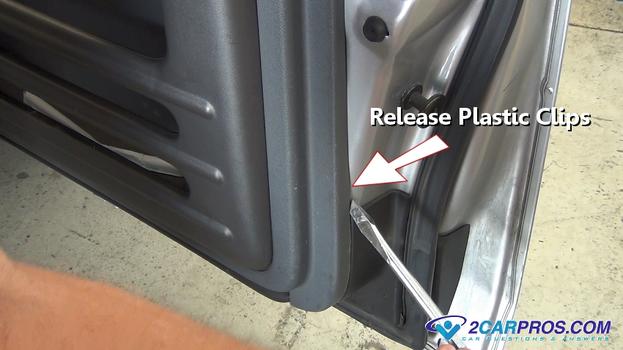
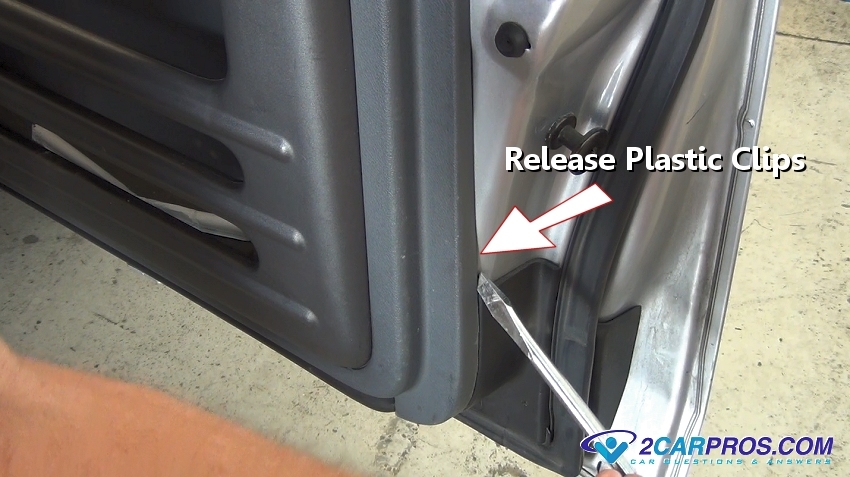
 Step 11 - Use a screwdriver or door panel removal tool and wedge it in-between the panel and the door, this will release (pop) the plastic clips holding the panel to the door, follow this action around the bottom of the door until completely released.
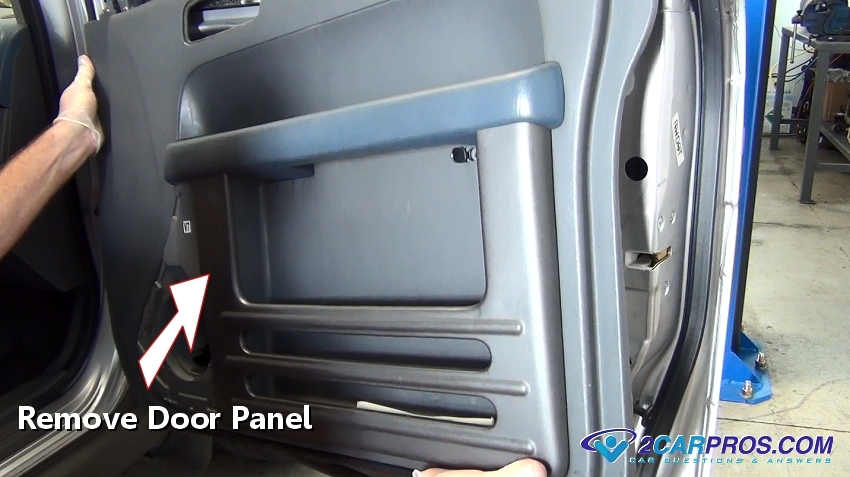
 Step 12 - Once all mounting screws or bolts and plastic mounting clips have been released or removed, lift up on the door panel to release it from the window sill, hold it in place as wiring will still be attached.
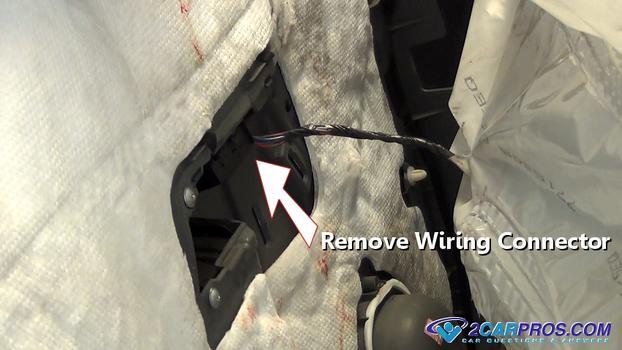
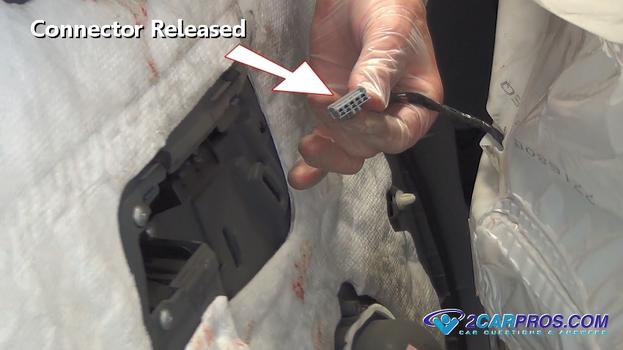
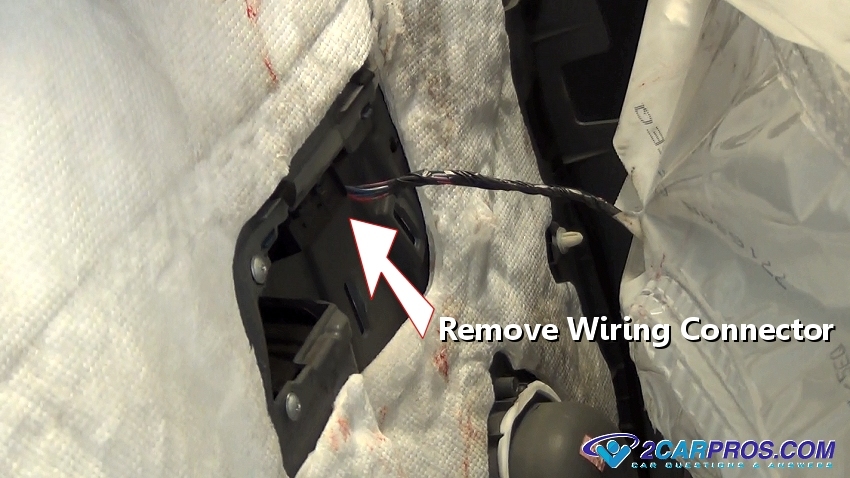
 Step 13 - While holding the panel in place locate the wiring connector to the panel accessories such as a window switch or light, release the connector safely to remove.
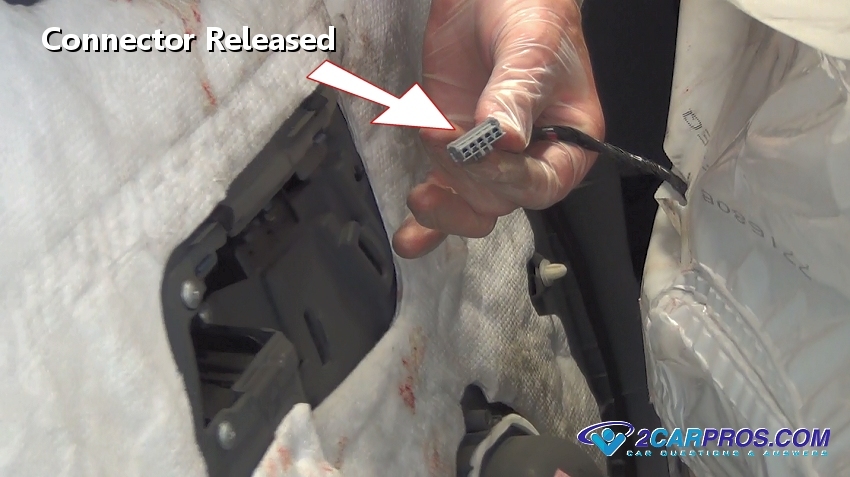
 Step 14 - Window switch wiring harness connector released.
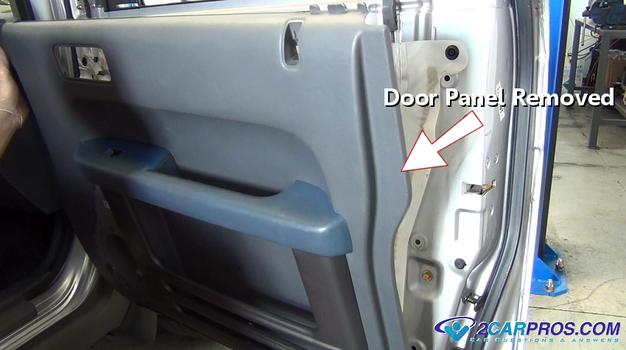
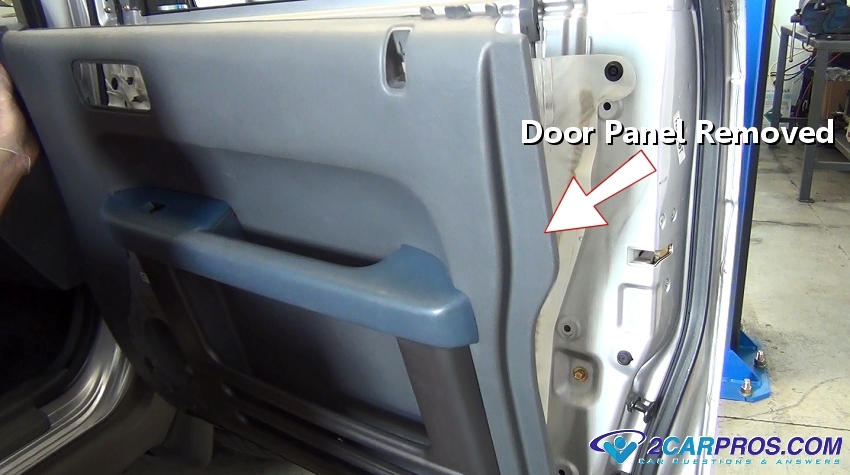
 Step 15 - Once the electrical connectors have been released, the door panel will become free from the door, remove and gently place it away from the work area.
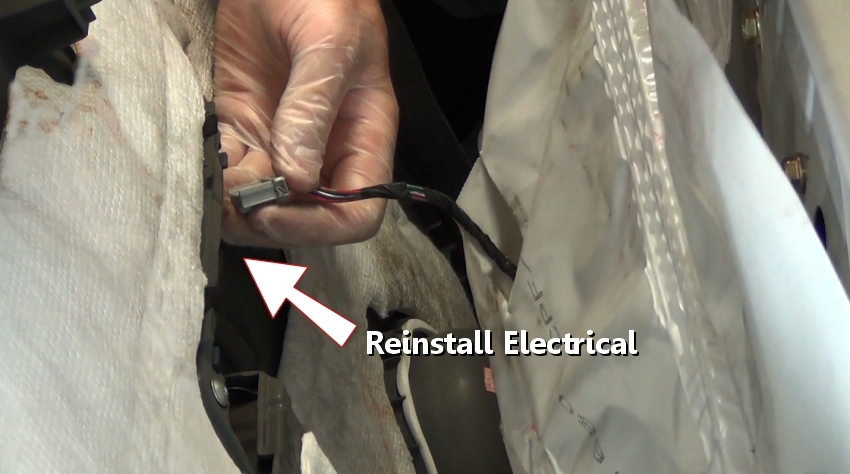
 Step 16 - After repairs have been made and the door panel is ready to be reinstalled, grasp the door panel and hold in position while reconnecting the window and light electrical connectors.
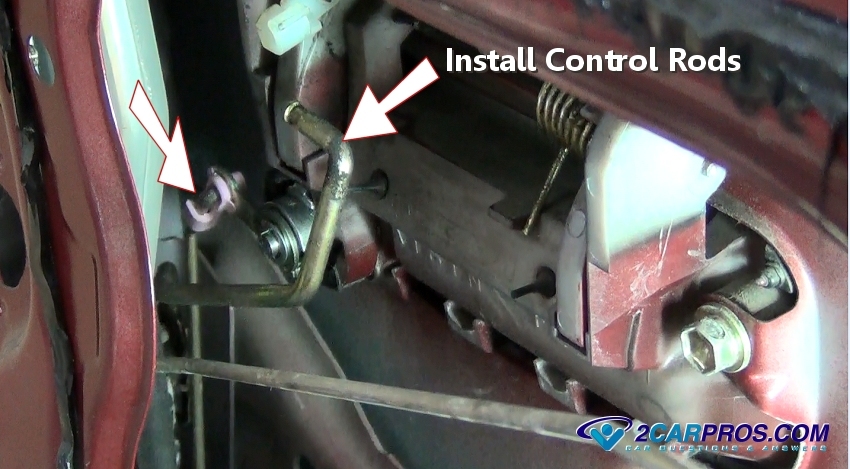
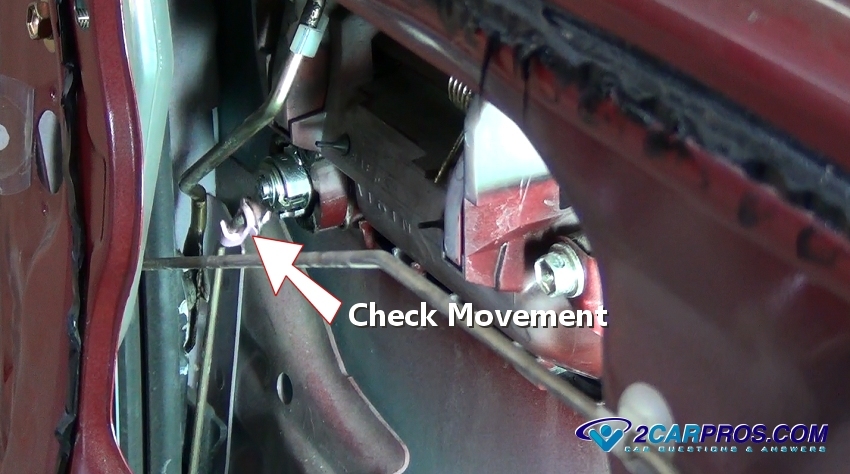
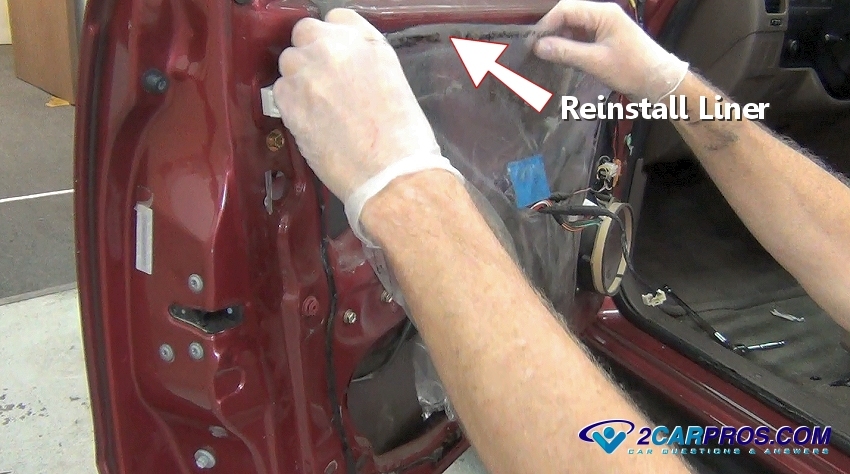
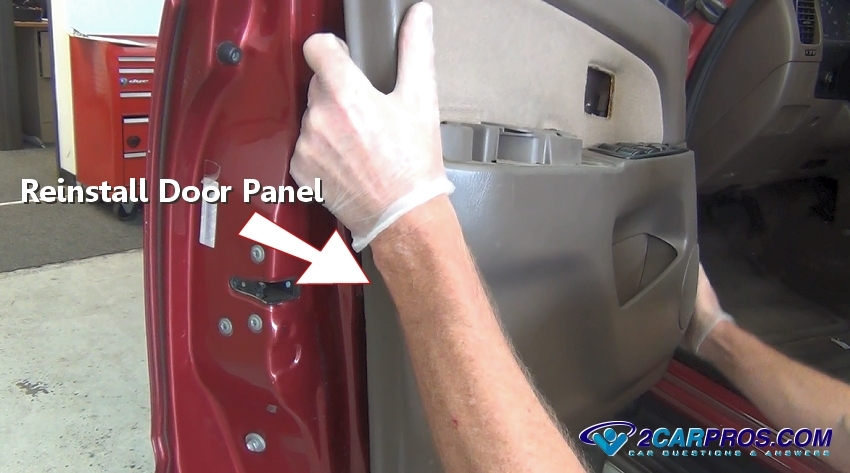
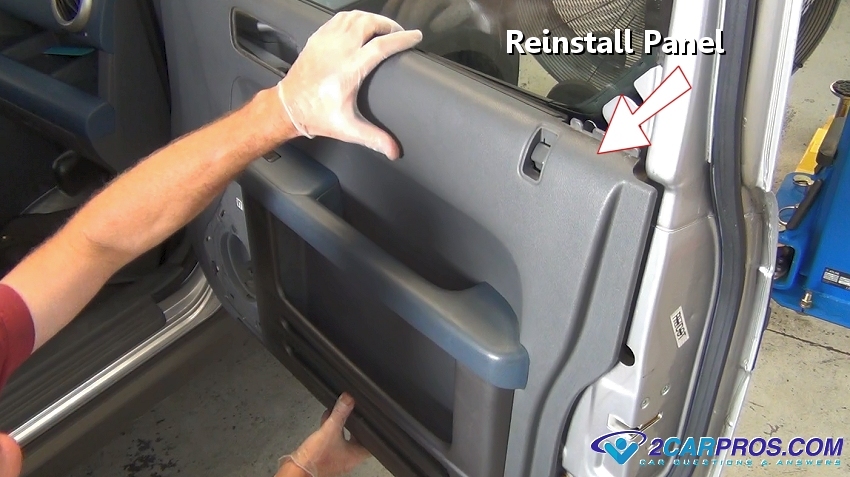
 Step 17 - While making sure all locks work, make sure the latch control rods are safely in place, hook the door panel into the window sill and push down to secure.
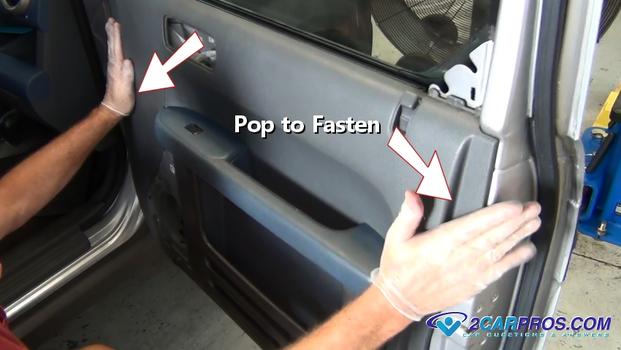
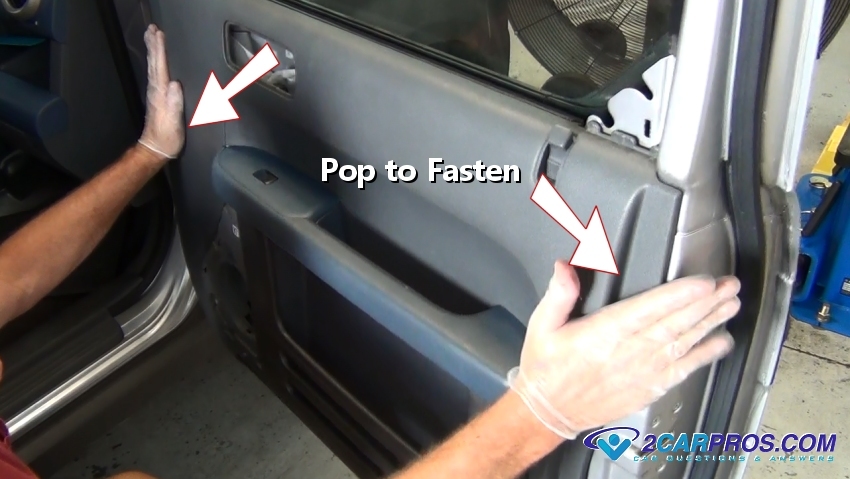
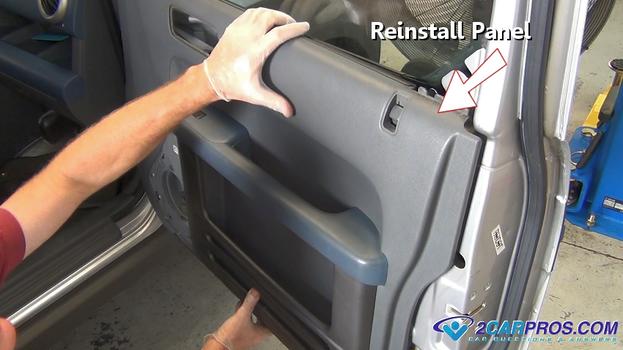 Step 18 - Once the door panel is secured at the window sill, pop the plastic clips back into place. (Note: Physical alignment of the clips into their respective holes maybe needed.)
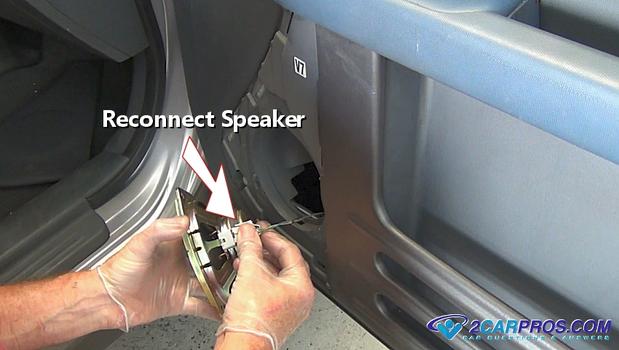
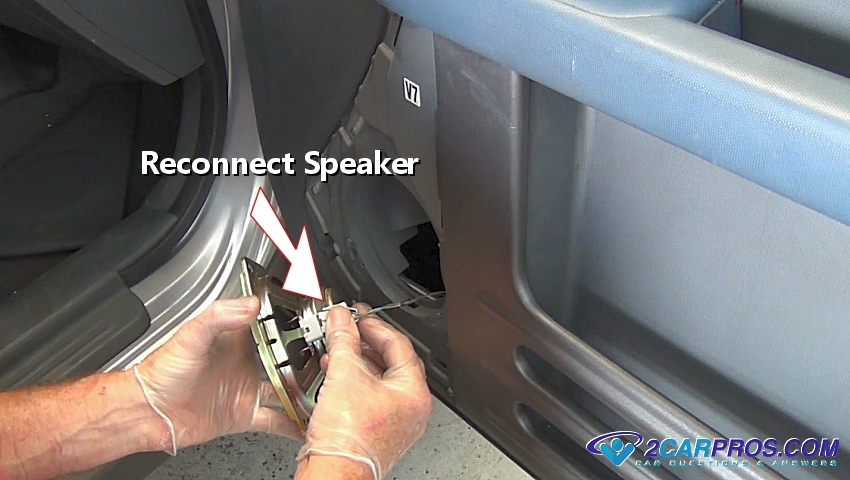
 Step 19 - Grasp the speaker while reconnecting the electrical connector, set the speaker back into place.
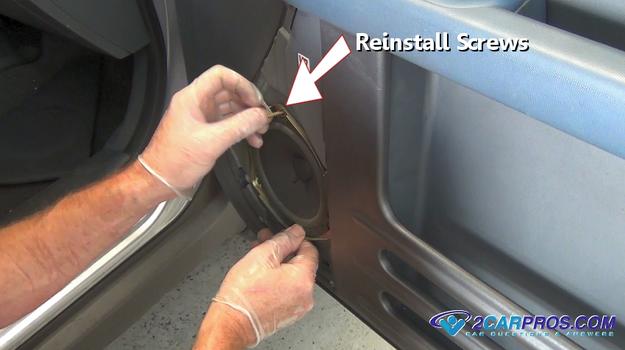
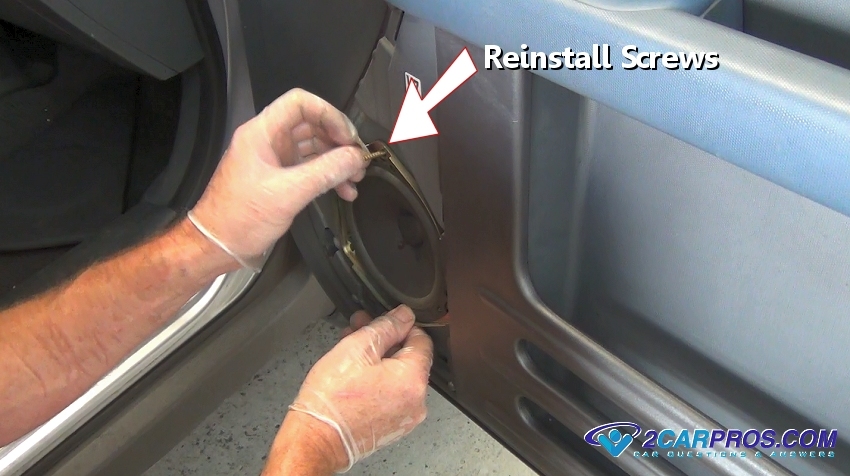
 Step 20 - Insert speaker mounting bolts and tighten.
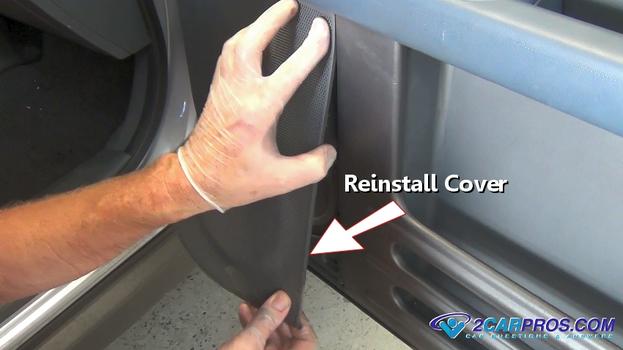
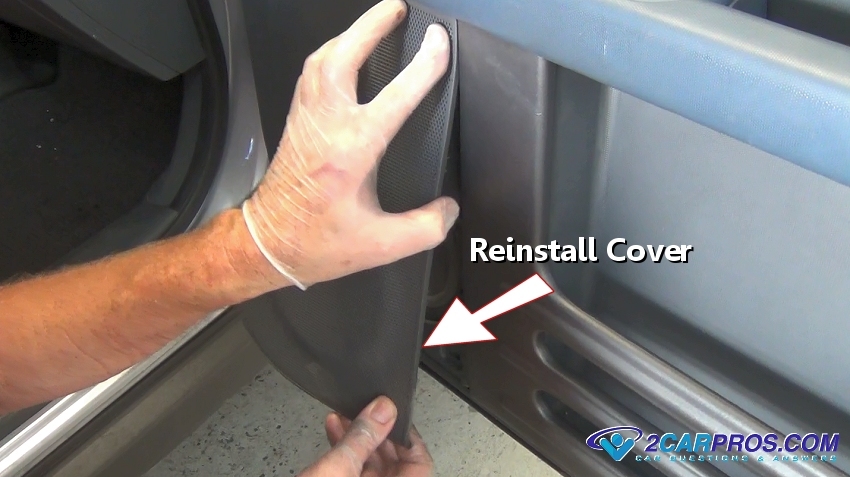
 Step 21 - Push the speaker cover into place and secure.
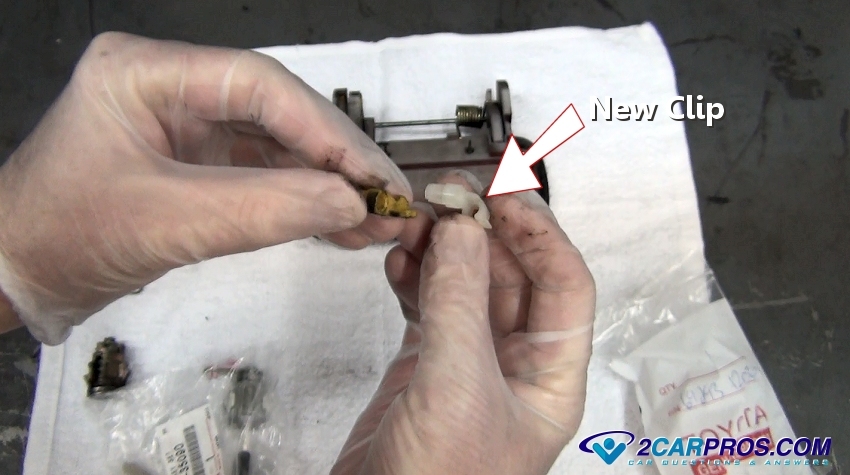
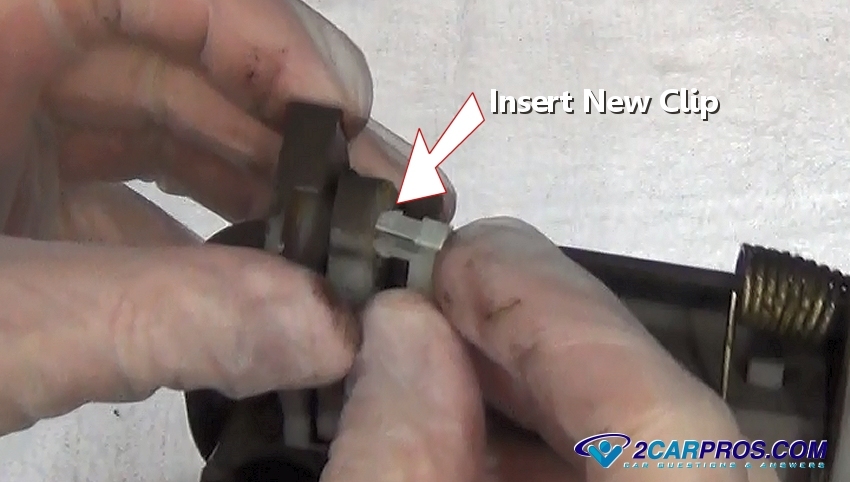
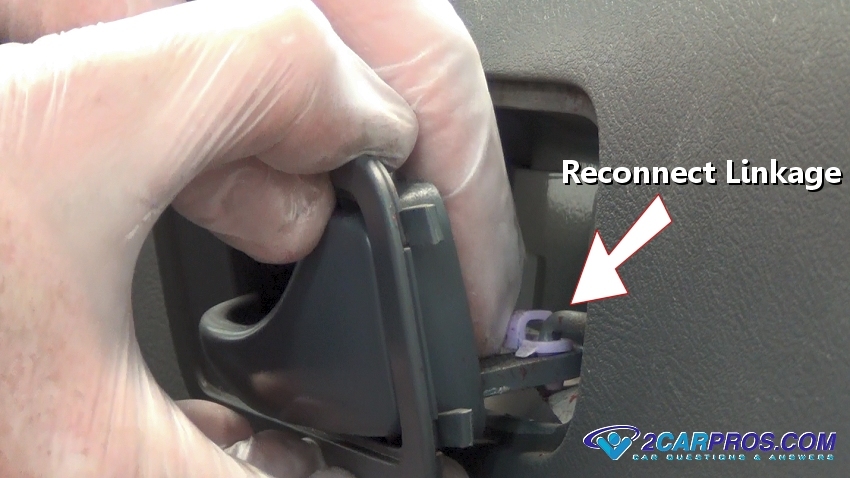
 Step 22 - While holding the door handle, reattach the door handle linkage by popping the plastic clip over the control rod.
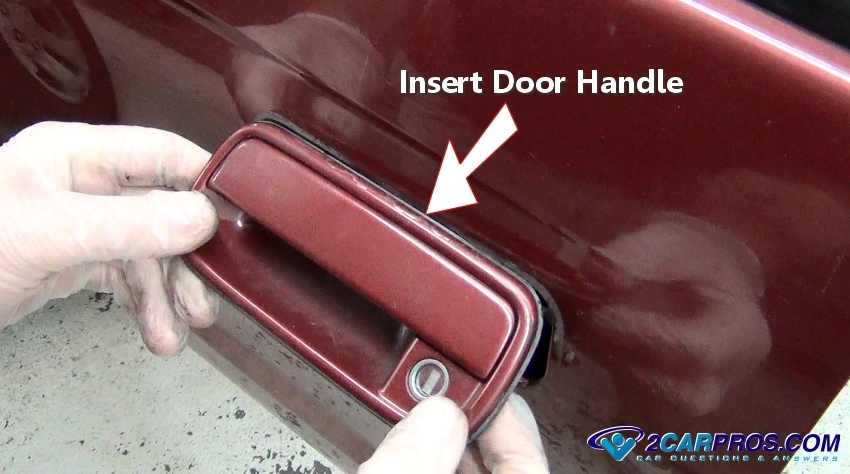
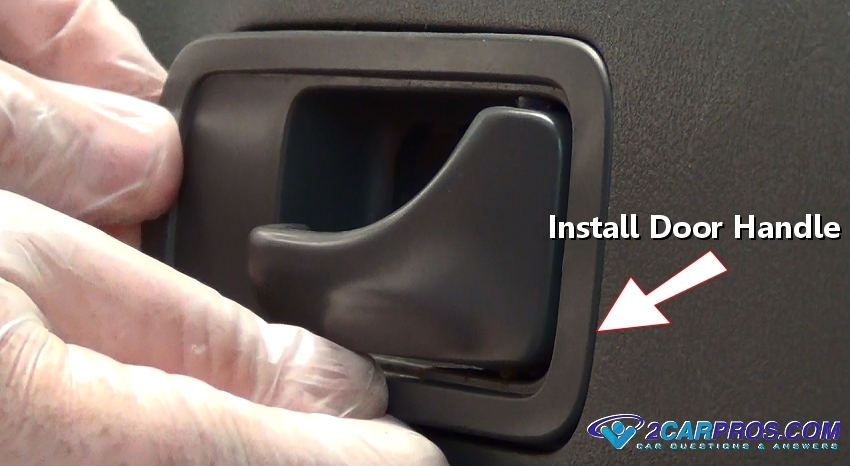
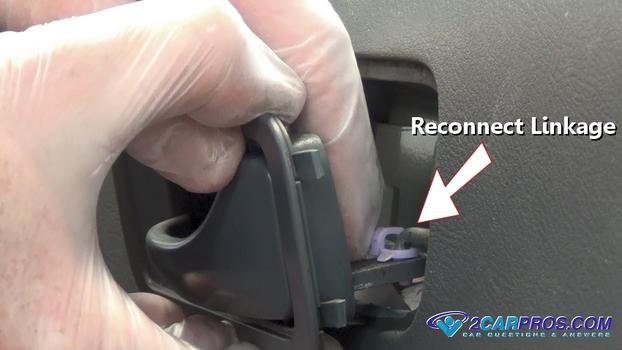 Step 23 - Snap the door handle back into place while ensuring the linkage can move freely.
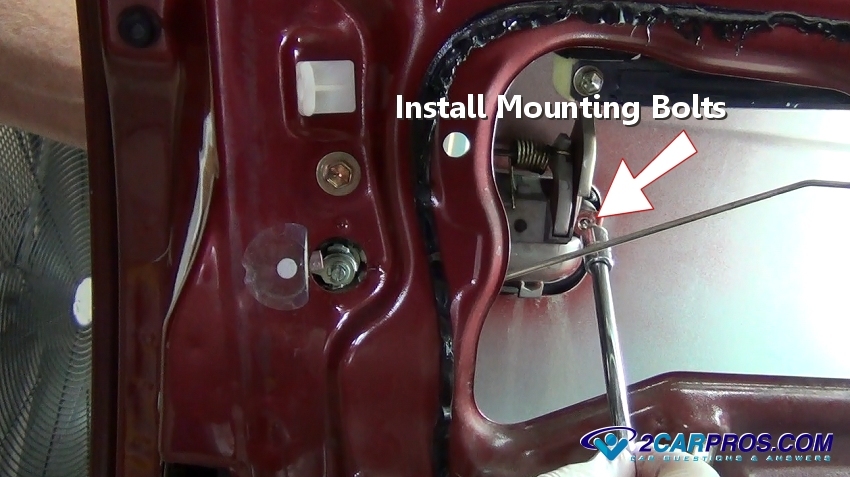
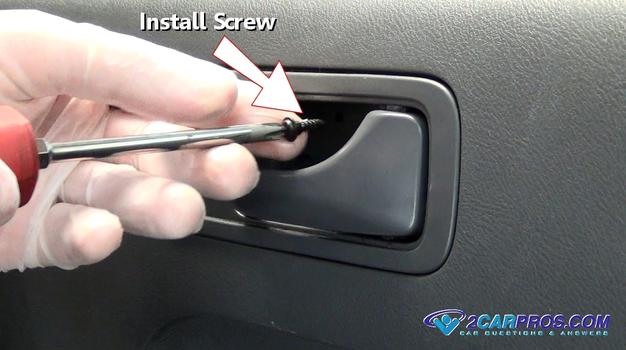
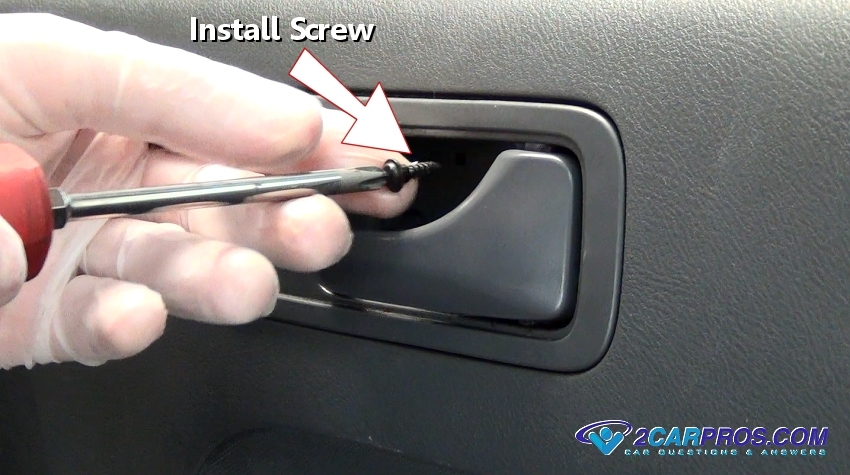
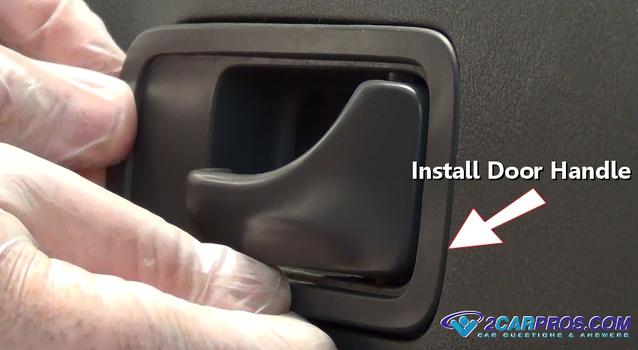 Step 24 - Reinstall and tighten the handle mounting screws.
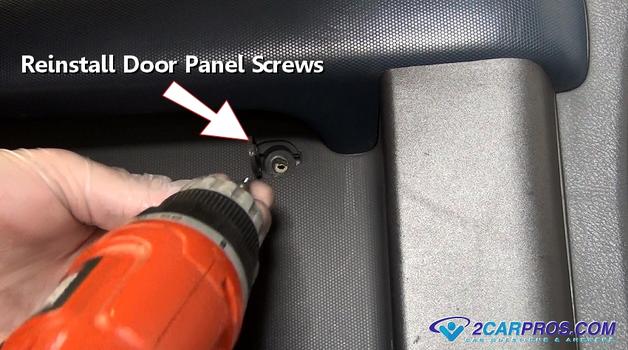
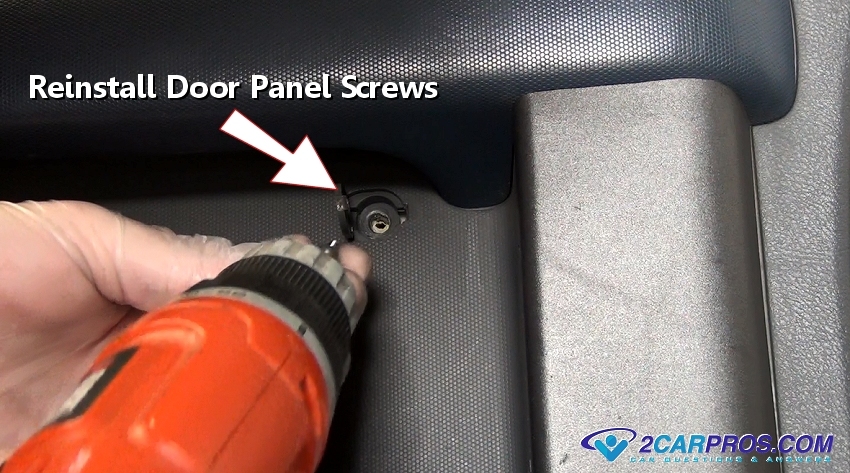
 Step 25 - Reinstall all door panel screws or bolts.
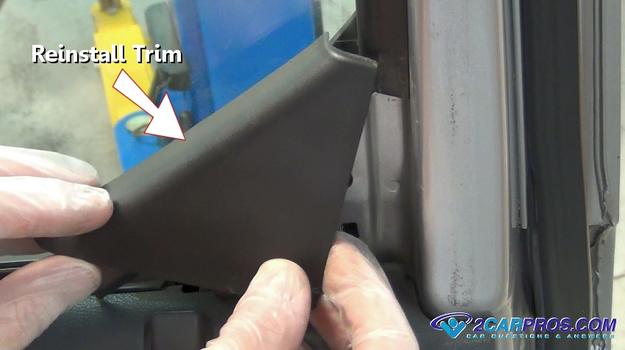
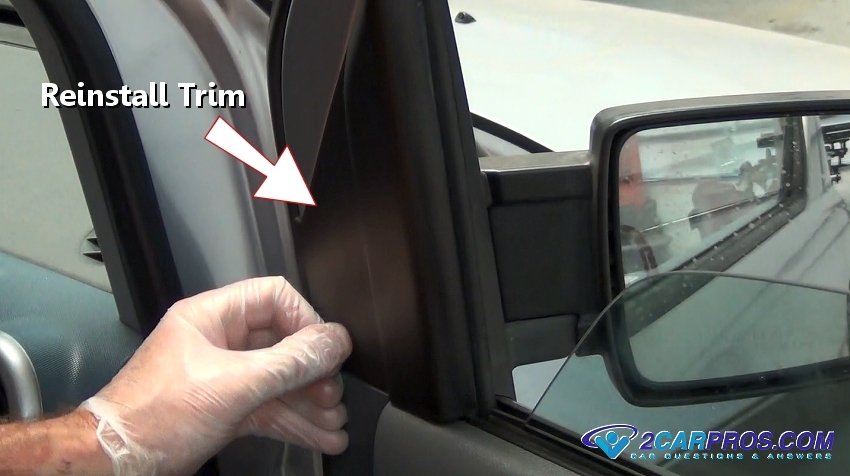
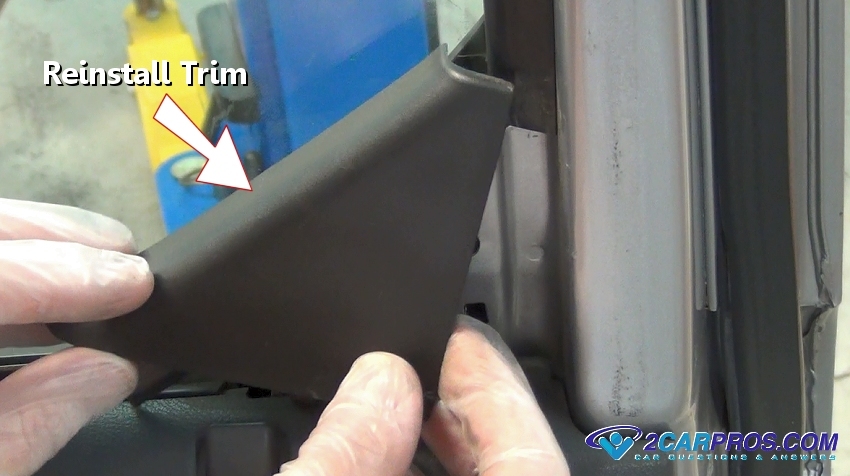
 Step 26 - Once the door panel is properly secured, reinstall front trim pieces.
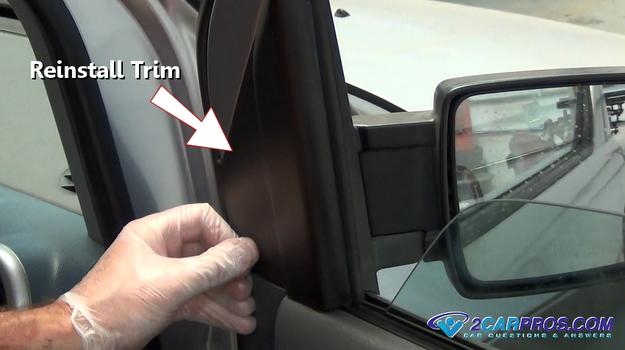 Step 27 - Carefully install the rear trim piece by popping it into position.
 Helpful InformationAll door panels basically perform the same task, though the process of removal varies for each vehicle, in most cases a novice can perform this job. Once the door panel has been removed be cautious of how it is stored during the repair, most door panels are made of cloth and can pick up dirt and stains easily.
Sources 2carpros.com